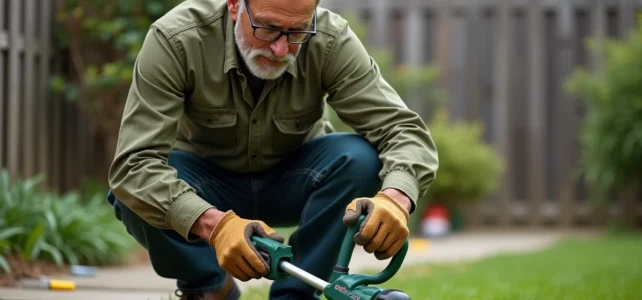
We are in the middle of a finishing session along a path, the line snaps suddenly, and the spool refuses to release another centimeter. The classic reflex is to disassemble the head, pull on the line randomly, rewind it haphazardly, and go again. Result: a jam after two minutes. To extend the line of your trimmer without wasting time, the method is just as important as the equipment.
Diagnose the cause before touching the spool
Before unwinding new line, it saves time to identify why the line is no longer coming out. In most semi-automatic line heads (tap and go system), the problem rarely comes from the line itself.
A crossed winding inside the spool blocks the exit. The coils overlap, the line gets stuck against the inner wall, and the ground striking mechanism no longer releases anything. Another common case: the line has melted due to friction, and the strands have fused together in the spool.
On models with dual line output (two strands extending simultaneously), an imbalance in length between the two strands causes vibrations that accelerate breakage. When you want to extend the line of your trimmer, checking the internal condition of the spool before reloading helps avoid repeating the same blockage.
Winding technique to avoid line jams
The winding gesture makes all the difference between a line that unwinds cleanly throughout the session and a line that jams after three uses of the tap and go.
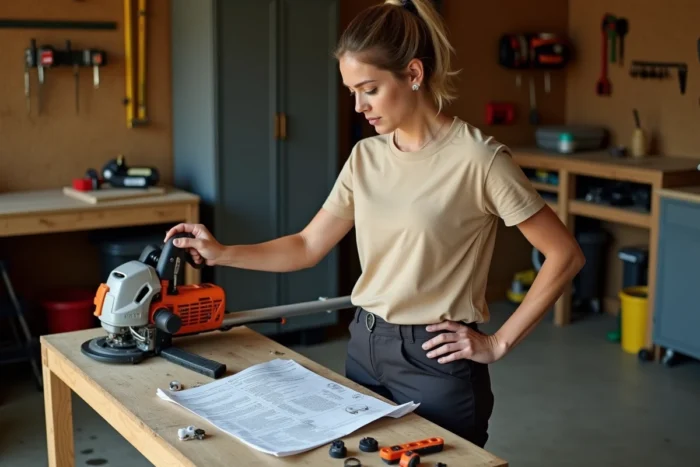
Follow the arrow direction
Each spool has an engraved or molded arrow indicating the winding direction. This is often ignored, and it is the primary cause of jamming. Winding in the wrong direction prevents the line from coming out at the moment of ground striking because the head’s rotation works against the unwinding direction.
Tight and parallel coils
Place the line in the groove of the spool while maintaining constant tension with your thumb. Each coil should press against the previous one without overlapping. As soon as one coil climbs over the next, stop and reposition.
- Cut the length of line recommended by the manufacturer before starting (most spools accept between two and four meters per strand, depending on the line diameter and head size)
- Fold the line in half for dual output heads, insert the middle into the central notch, then wind each strand into its respective groove
- Leave about ten centimeters sticking out on each side before clipping the cover, so the line can be grasped by the exit eyelets
On quick-loading heads (without disassembly), align the line with the side holes of the head, insert, and turn the knob. The line winds automatically. These systems work well, but they do not tolerate line that is too thick or a diameter not suited to the head.
Choose the right diameter and cutting line profile
Using a line that is too thin on thick grass causes rapid wear and requires constant extension. Conversely, a line that is too thick for the motor’s power overloads the machine and breaks more quickly.
The diameter of the line must match the power of the trimmer. Lightweight electric models generally work with thin round line. More powerful gas trimmers accept thicker lines, often with square or star profiles, which cut dense vegetation better.
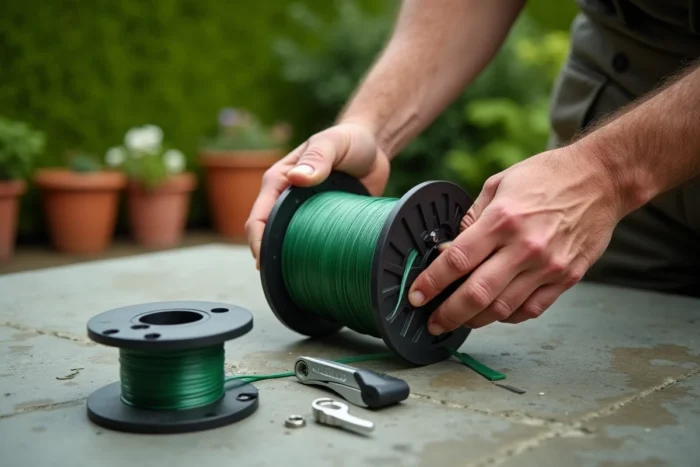
- Round line: versatile, suitable for fine grass and finishing along edges. Gradual and regular wear
- Square or twisted line: more aggressive cutting on tall grasses and semi-woody stems. More pronounced cutting noise
- Starred (serrated) line: cuts cleaner, reduces motor strain on resistant vegetation. Feedback on its actual durability varies by brand
Some manufacturers like Ryobi offer hybrid heads compatible with line and plastic blades. In areas overrun with brambles or woody vegetation, switching to plastic blades prevents the spool from emptying in just a few minutes. For regular edging work, line remains preferable: the cut is more versatile, and the risk of bouncing off an obstacle (stone, post, fence) is significantly reduced.
Reduce the frequency of line reloading
Extending the line less often also involves adopting some work habits that limit premature wear.
Keeping the cutting head at the right height above the ground makes all the difference. When the head is dipped too low, the line rubs against the ground and wears out without cutting grass. The line should just graze the vegetation, not scrape the soil.
Working with regular sweeps rather than jerky movements prolongs the line’s lifespan. A constant pendulum motion stresses the line evenly, while repeated impacts against thick stems cause sharp breaks.
Adjust the line length to the power
The more the line extends from the head, the harder the motor works. On a low-power electric trimmer, leaving too much line out slows down the rotation and degrades the cutting quality. Adjusting the line length to the machine’s power avoids overload and premature breakage. The cutting blade integrated into the casing is there to calibrate this length: when the line exceeds, it automatically cuts it to the correct dimension.
A properly wound line, suited to the diameter of the head and the power of the motor, lasts significantly longer than a line reloaded in a hurry. The next time the spool runs out, taking two minutes to wind it correctly saves double the time in the field.