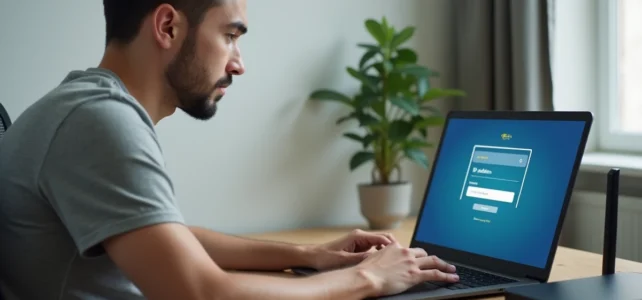
We connect a new Wi-Fi repeater, want to change the network password, or check if an unknown device is hogging the bandwidth. In each of these cases, the first step is the same: open the router’s administration interface via its local IP address. And that’s often where it gets stuck, not because the process is complex, but because a small detail in input or connection can block access.
Input errors that prevent reaching 192.168.1.1
Most connection failures do not come from the router. They stem from what is typed into the browser. We regularly see incorrect variations such as 192.168.l.l (with lowercase “L” instead of “1”), 192.168.1..1 (double dot), or 192.168.11 (a missing dot). The browser then interprets the input as a Google search, not as a network address.
The other classic trap: entering the address in the search bar of the engine instead of the browser’s address bar. On Chrome or Firefox, the two bars are merged, but the behavior changes if a space or an extraneous character is added before the IP. Enter the address alone, without “http://”, without “www”, and ensure that no spaces are lingering.
For those who want a detailed procedure tailored to each provider, a connection guide on Vox Libris outlines the specific steps according to the boxes on the market.
Default gateway: check the correct router IP address
Not all routers use 192.168.1.1. Some Freeboxes respond on 192.168.1.254, SFR boxes on 192.168.0.1, and third-party routers (TP-Link, Netgear, Asus) may have even different addresses. Typing 192.168.1.1 on a network where the gateway is different will lead nowhere.
The verification takes a few seconds. On Windows, open the command prompt and run ipconfig. The “Default Gateway” line displays the exact address of the router. On macOS, go through System Preferences, Network, then Advanced, TCP/IP tab. On an Android or iOS smartphone, the information can be found in the details of the active Wi-Fi connection.

It is this gateway address, and only this one, that should be pasted into the browser. If the displayed value is 192.168.0.1 or 10.0.0.1, that is what needs to be used, not 192.168.1.1.
Local connection and Ethernet cable: what really blocks access
One point that guides often gloss over: no Internet connection is necessary to access the router’s interface. Only the local link between the device and the router matters. If the fiber is down or the ADSL signal has dropped, you can still connect to the administration interface, provided you are connected to the correct network.
Wired connection remains the most reliable method. Take an Ethernet cable, plug it into a LAN port on the router (not the WAN or Internet port, which is often a different color). Confusing the two ports is a frequent source of blockage after a factory reset.
Feedback varies on this point depending on the models, but the general rule holds: the WAN port is used to connect the router to the provider’s network, while the LAN ports are for local devices.
Via Wi-Fi, access also works in most cases. A few precautions to keep in mind:
- Connect to the Wi-Fi network emitted by the router itself, not to a repeater or guest network that could isolate the administration traffic.
- Temporarily disable the active VPN on the device, as some VPNs redirect all traffic and prevent reaching the router’s local IP.
- On some TP-Link or Swisscom routers, a local hostname (like tplinkmodem.net) works as an alternative to the numeric IP address.
Default credentials and lost password on the router
Once the login page is displayed, the router asks for a username and password. The most common default combinations are admin/admin, admin/password, or root/admin. These credentials are listed on the label stuck under or behind the router, next to the SSID and factory Wi-Fi password.
If someone modified these credentials during a previous setup and no one remembers them, the only reliable solution is a factory reset. Hold the Reset button (often a small hole accessible with a paperclip) for about ten seconds until the device completely restarts.
Warning: a factory reset erases all customizations. Wi-Fi network name, custom password, port forwarding, MAC filtering, everything resets to zero. Before pressing, it’s better to note the settings you want to keep.
What to do after a factory reset
Upon restart, the router uses the default IP address and factory credentials again. Reconnect via Ethernet cable (Wi-Fi may take a few minutes to become visible again), enter the default gateway in the browser, and input the credentials printed on the label.
Once in the interface, the first actions to take:
- Immediately change the administration password to prevent a device connected to the local network from accessing the settings.
- Rename the Wi-Fi network and set a strong WPA2 or WPA3 password.
- Check that the router firmware is up to date, as some known security vulnerabilities are fixed only through software updates.
- Reconfigure any port forwarding or IP address reservations if they were used before the reset.
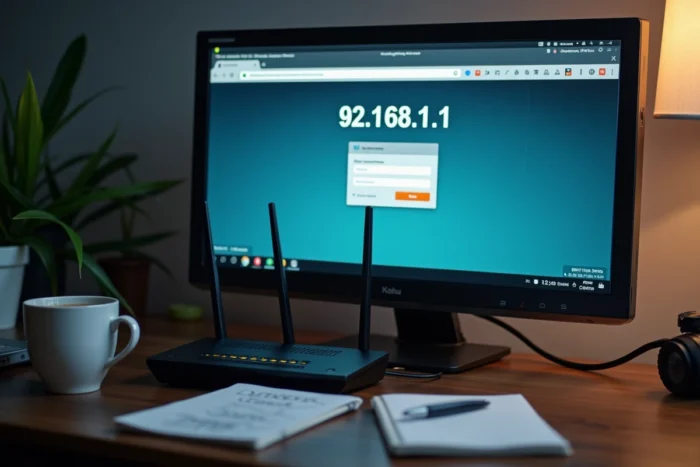
Quick diagnosis with ping 192.168.1.1
When the page refuses to display and you’ve checked the address, connection, and network, a ping test can determine if the router is responding. Open the command prompt (Windows) or Terminal (macOS/Linux) and type ping followed by the gateway address.
If responses come back with times in milliseconds, the connection is working and the problem lies with the browser (cache, blocking extension, active proxy). If the ping fails with “request timed out,” it’s the physical connection or network configuration that is problematic.
In this second case, check that the device is indeed getting an IP address in the same range as the router. A computer configured with a static IP of 10.0.0.x will not be able to reach a router at 192.168.1.1. Switching to automatic DHCP resolves most of these addressing conflicts.
Accessing a router’s interface is not technical in itself. What wastes time is almost always a detail upstream: a typo, a cable in the wrong port, a gateway different from what is assumed. Checking these three points before any other manipulation avoids most dead ends.